

The Course List Element is a great way to showcase a list or grid of courses on any page in your site. You can also filter what courses show with the Query Builder, much like how the Post List Element works. In fact, we built this element to be very similar to how the Post List Element works as most of the basic styling options and features are similar. The difference simply is in the Query Builder and Element State styling options, which we'll get to further down in this guide.
The Course List Element is also dynamic. It will show different content based on the status of the member or visitor who is viewing the page where you have the course list element. You can show only the courses the member has access to, all courses, just locked courses, courses from specific course taxonomies, or courses based on other criteria.
As this element is so flexible, there are many options and features built in. We will try to cover as many options as possible in this article, however we would suggest to just click around in the element and see what is there, and don't be afraid to try some different settings to get the desired results.
Adding the Course List Element
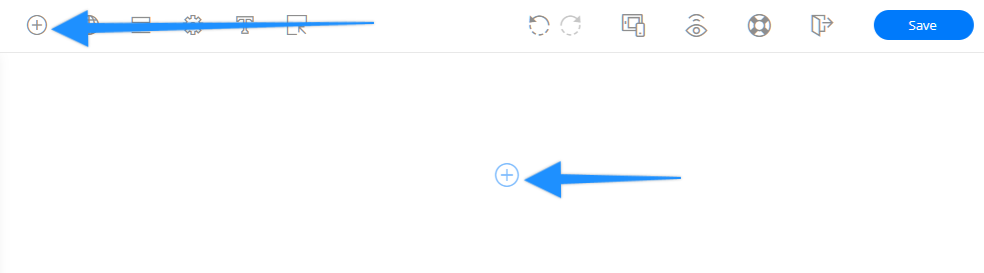
Adding the element is simple. Just click the "+" icon somewhere in your page or open the element library from the top left of the editor.
You can type in the element search "Course List" and you will see the element there.
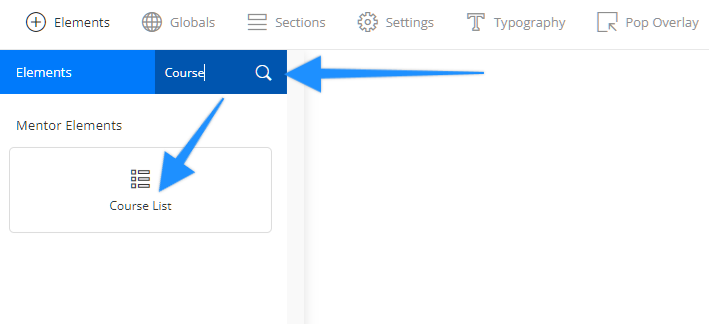
Just drag it into place and then you'll see the query builder where you can choose which courses the element will show.
Using the Query Builder
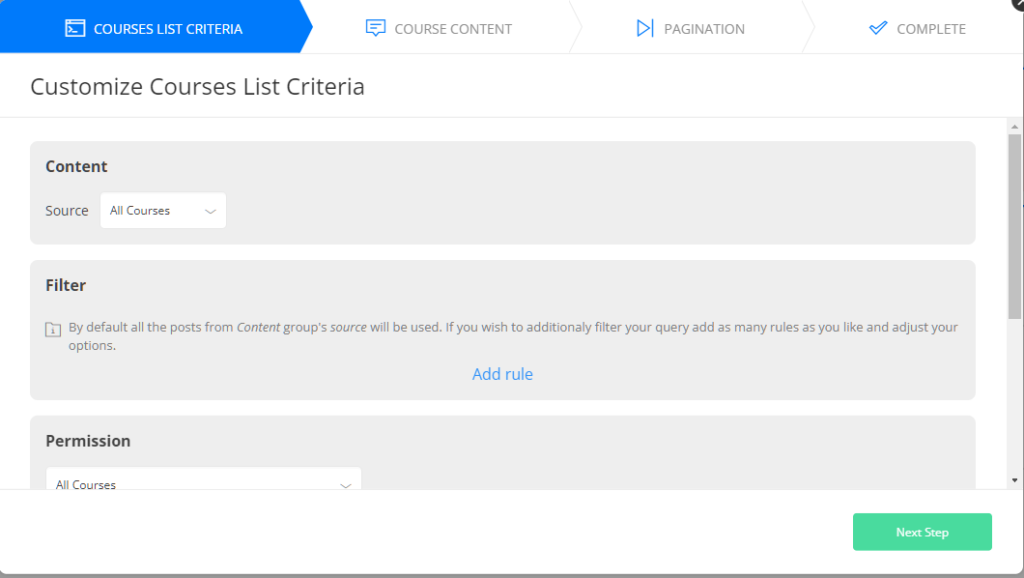
The Course List Query Builder will allow you to set the criteria to show the courses you want. By default, it is set to show all courses.
Course List Criteria
You can change the Course List Criteria to display the courses you want.
For the content source, you can choose either All Courses (default), or Specific courses.

Specific Courses allows you to choose the courses that you want to display on your page like you see below. Just click the dropdown and choose the courses and you'll see them populate. If you accidentally click on that you don't want, click the little "x" to the left of the course name.

You can also filter courses by Taxonomy or Author

For Permissions, there are a number of options which let you take this element to the next level. If you want to have different sections on your page that show courses someone has, then courses they don't have access to, or courses that are dripped, you can choose these options in multiple course list elements on the same page and they'll dynamically populate.
For example, if you want a Course List that shows currently available courses then you can do that, while below, perhaps you can have one that shows courses that are not yet available which are on a drip delay. You can choose the permission which suites what you are using the element for here:
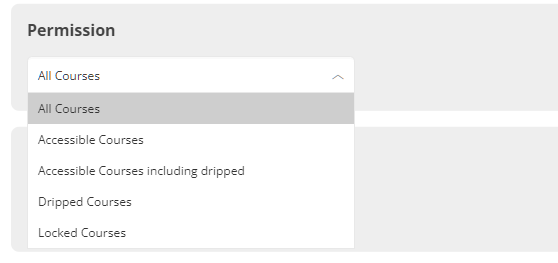
The most common setting would be "Accessible Courses" as that only shows what the logged in user actually has access to.
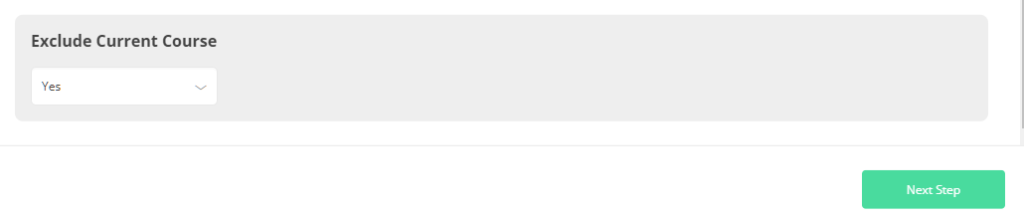
Also, if you add the Course List Element to a course page, then you could exclude the current course since the user is already on that one:
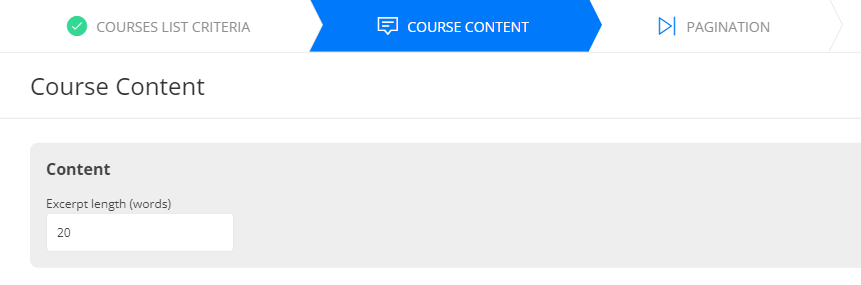
Course Content
On the Course Content tab, you can choose how many words to show for the excerpts. The default setting is 20 words but you can change this if you desire.
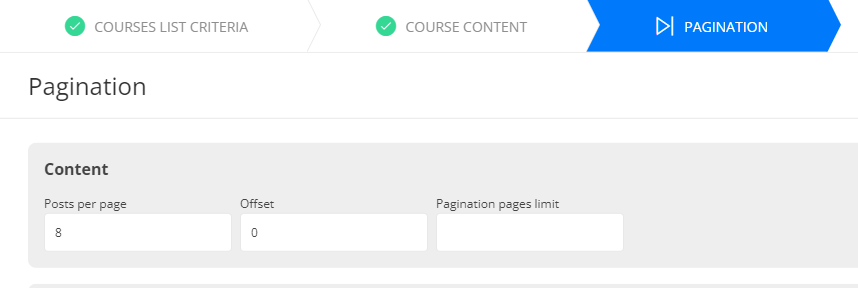
Pagination
The Pagination tab allows you to setup what happens if you have more than the set number of courses.
Under "Content" you can choose how many courses (Posts per page) show. The "Offset" setting is if you want to show all but the first (or more) courses (in case you have those showing already somewhere else). You can also set a limit to how many pages show for the pagination setting.
Note: If you choose a "Posts per page" and there is not enough Courses, you may see some dummy content. This only shows in the editor. We added this because in some cases as an admin, you may not be able to see every option, but we believe you should still have a way to edit this without actually having all the necessary content. Just keep in mind these are only showing in the editor and not the live version of your page.
For "Navigation" you can use pagination buttons, a load more button, or infinite scroll. If you choose Pagination Buttons, you can also choose whether it shows at the top, bottom, or both top and bottom of the Course List element. You can also turn this off if you know you won't have more than the set number of courses (posts per page).

The final step just shows a review of the options you selected in the Course List Query Builder.
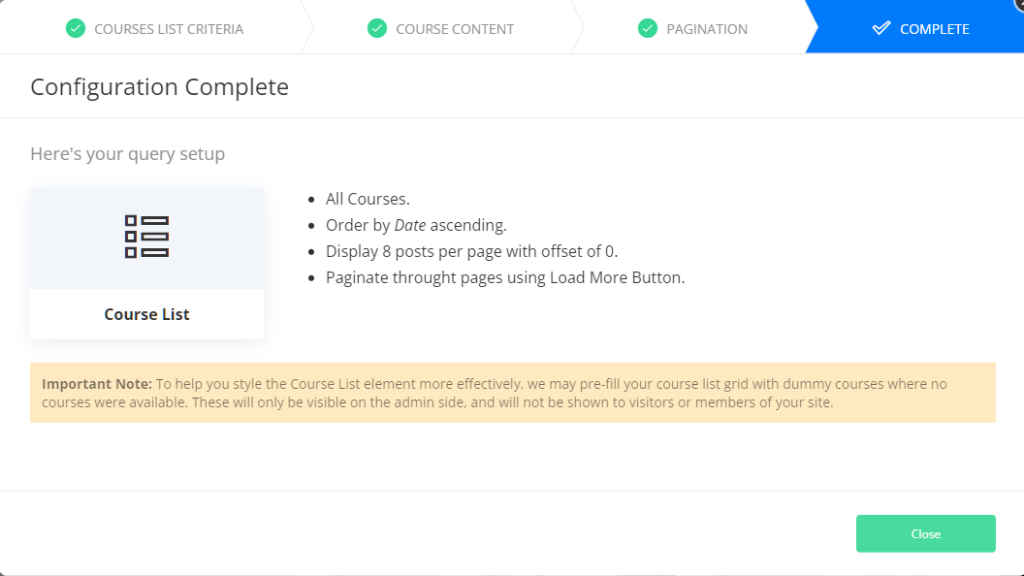
You'll click "Close" and if you noticed anything wrong you can get back to the Query Builder quite easily by clicking the Query Builder icon in the Course List toolbar.
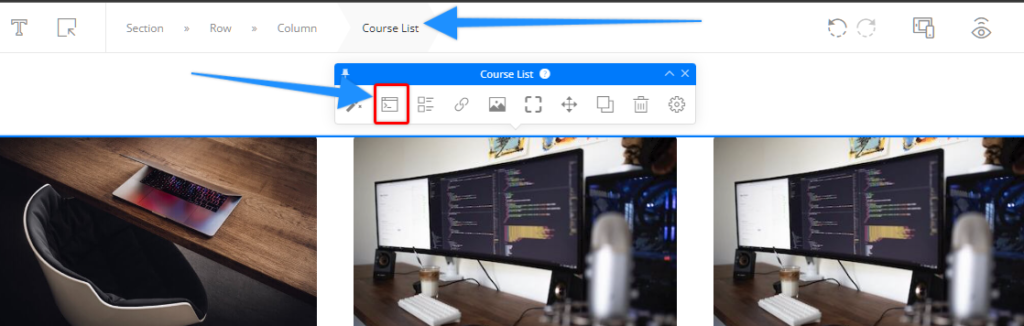
Get Back to Course List Toolbar
If you don't see the Query Builder icon, then at the top of your page just click on "Course List" there in the editor (top blue arrow) and then you'll see it.
Course List Design Presets
There are several Design Presets that you can choose from. We crafted these in order to help save you time, but you can also go through all the options in the element and choose your own options as well if you like.
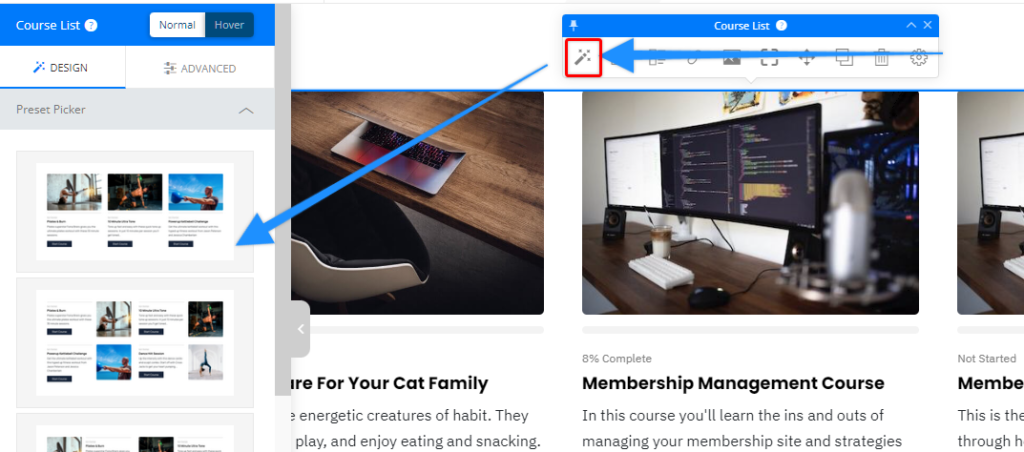
Note that if you change the design preset, it will not keep any layout options you may have selected already. If you already have things the way you want and you would like to see what it looks like with another option, it would be best to just clone the Course List element and then change the design preset.
Course List Toolbar Options
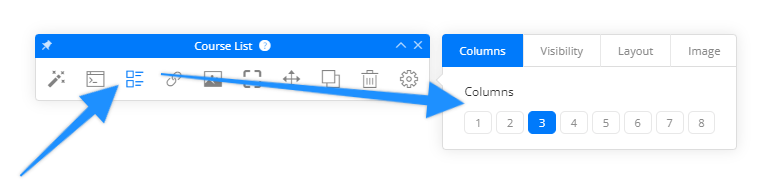
Columns, Visibility, Layout, & Image Options
The Course List element has quite a lot of options for making the element look the way you want.
To set the number of vertical columns, click the Block Options icon in the Course List toolbar and then in the Columns tab, choose the number of columns you want.
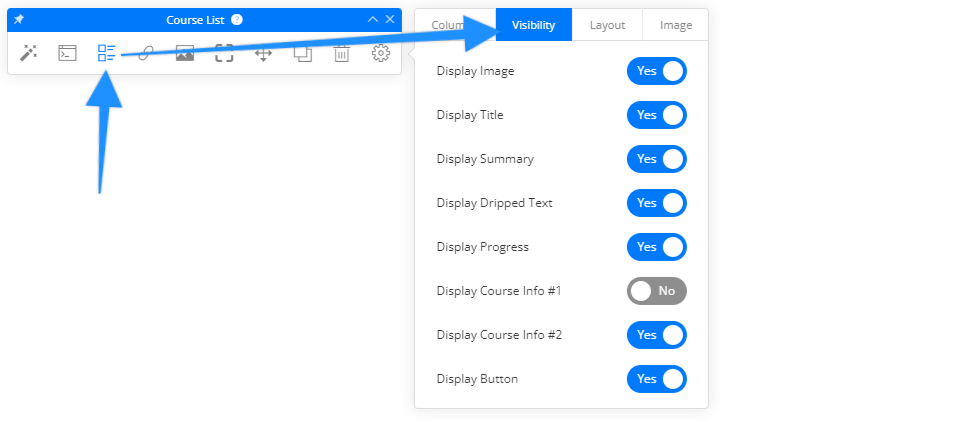
You can also turn on or off the visibility of certain features. You can turn these on and off to see how it changes the element.
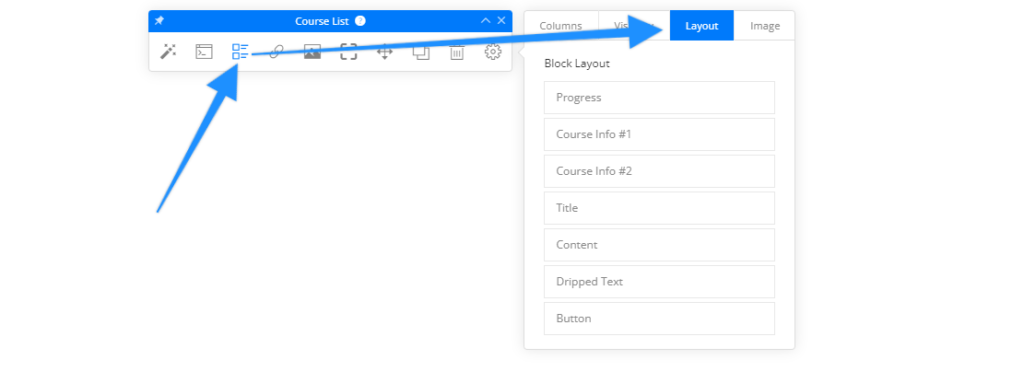
The Layout options will let you drag and drop the order of the element items.
You can also choose where the image goes (top, bottom, left, right), as well as the default image in case a course does not have one.
Course Item Link Options
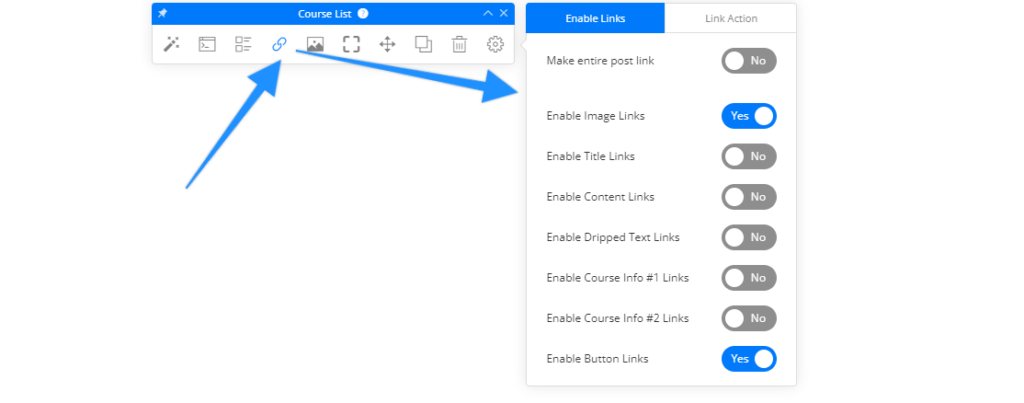
The link to the course is dynamically populated in the element, however if you want to turn on or off the ability for some of the items within the course list item to be clicked on you can do that here. You can also make the entire item able to be clicked on as well.
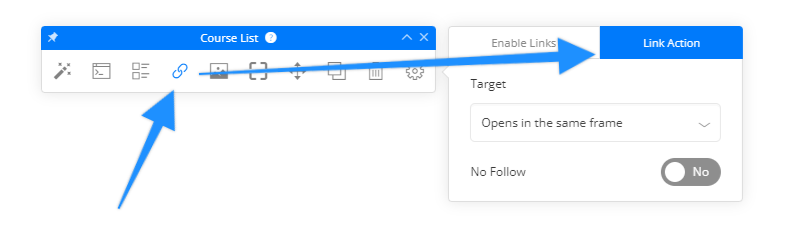
You can also set the link action to open in a new tab, and whether to set the links to "follow" or "nofollow" (follow is the default setting). Turn it on to make it "no follow" - this is for search engine bots to determine whether that link should be followed and indexed. This likely only is necessary if your course list element is on a pubic facing page and you don't want the bots to follow the links.
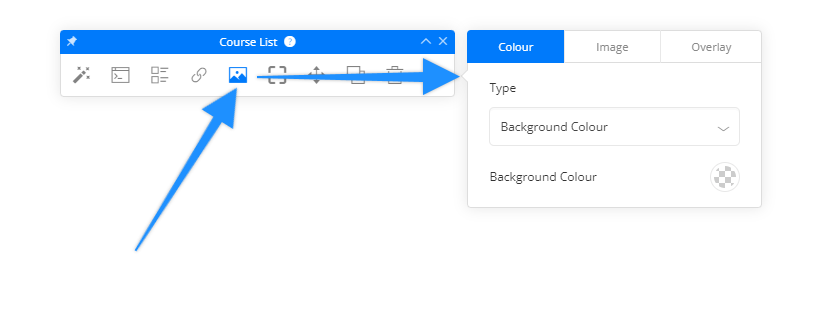
Course List Element Background Options
The Course List Element background can be edited like any other backgrounds in OptimizePress. You can choose a color, a gradient, background image, as well as a overlay for the background.
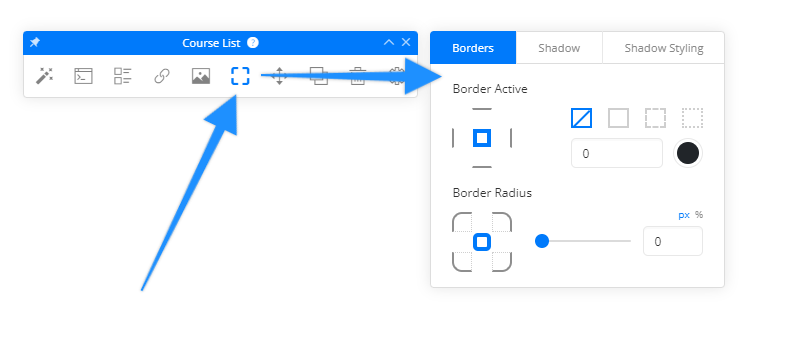
Course List Borders & Shadow Options
The course List element Borders & Shadow options are available if you need them. You can set border thickness and color, border radius, shadows, and also style the shadows. Here is where to find these options:
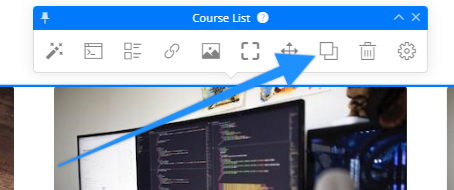
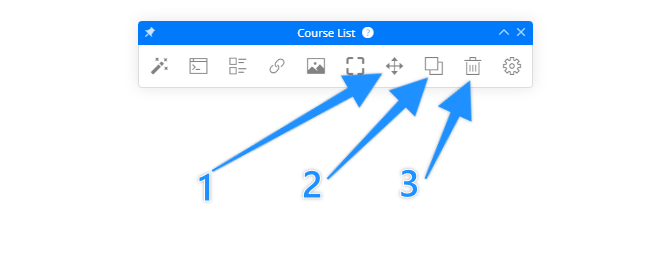
Moving, Cloning, or Deleting the Course List Element
1) You can move the element by holding the cross-arrows icon and moving the mouse.
2) You can clone the element
3) You can also delete the element (buy why!?)
Course List Element Advanced Options
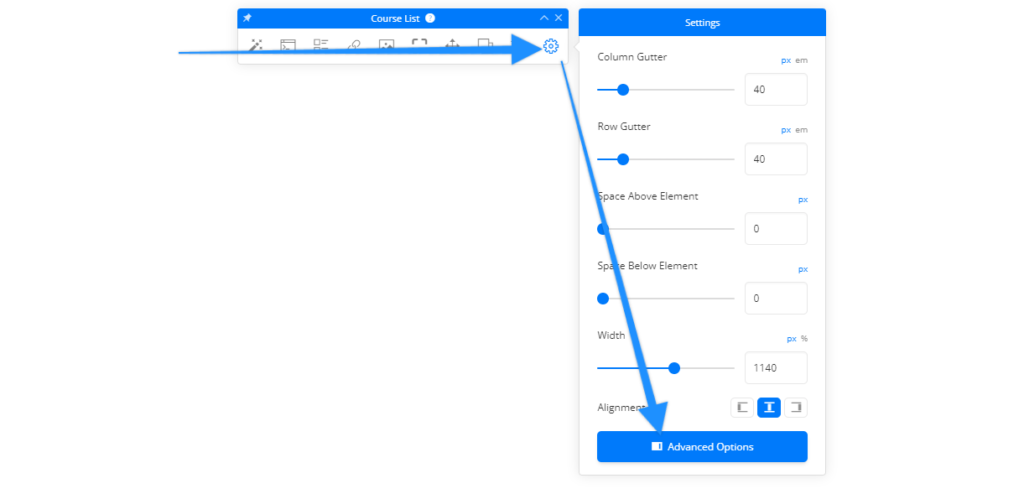
As with any element, you also have some advanced options that you can set if you need to fine tune things such as Column gutter, Row gutter, Spacing, Width, and Alignment.
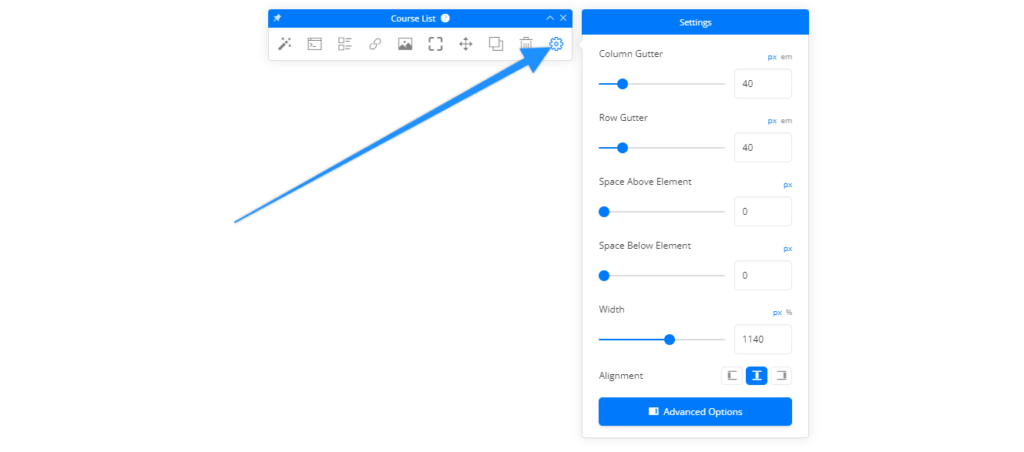
You can also open the Advanced options sidebar for further options. Unless you know what you are doing we wouldn't suggest messing with those settings.
This article is still being created. Please bear with us while we add more details to this article. If you have any questions about the Course List Element, please reach out to our support team and we'll be more than glad to answer your questions.